Chalk Paint Luggage Rack DIY
Transforming this $5 find with a fresh coat of chalk paint, some ribbon, and a staple gun. Bon voyage!
This article was originally published on a WordPress blog that I’ve retired in favor of Substack. Thanks for reading!
Who doesn't love the excitement of getting ready to go on a trip? While all the packing, planning, and logistical prepping can be a lot of work, a fancy luggage rack makes the whole experience easier and more fun.
I've always wanted a proper luggage rack – something I could easily set my suitcase on while I filled it up, so I didn't have to toss my weather-beaten cases on the floor or the bed (agh!).
I managed to snag a vintage luggage rack for only $5, and it was just begging for a makeover.
Read on to learn how I used a fresh coat of chalk paint, some ribbon, and a staple gun to do this luggage rack DIY!
Five-dollar find
Earlier this year, I wandered through the Ravenswood Manor Garage Sale which takes place every year in my Chicago neighborhood. Around 150 homes open their garages to fill a maze of alleys with trinkets and treasures – and treasure hunters. It was a beautiful day out, and it was great to see so much vibrant energy in the otherwise quiet alleys.
I'll admit that the "shopping" aspect was a little challenging – it was a really sunny day and you had to dive into peoples' shaded, overcrowded, mysterious garages, after all! I didn't expect to find anything too exciting. And a lot of the items on sale were things I wasn't interested in.
(Insider tip: If you're in the market for a child's art easel or a vintage wooden sled, I know just the place!)
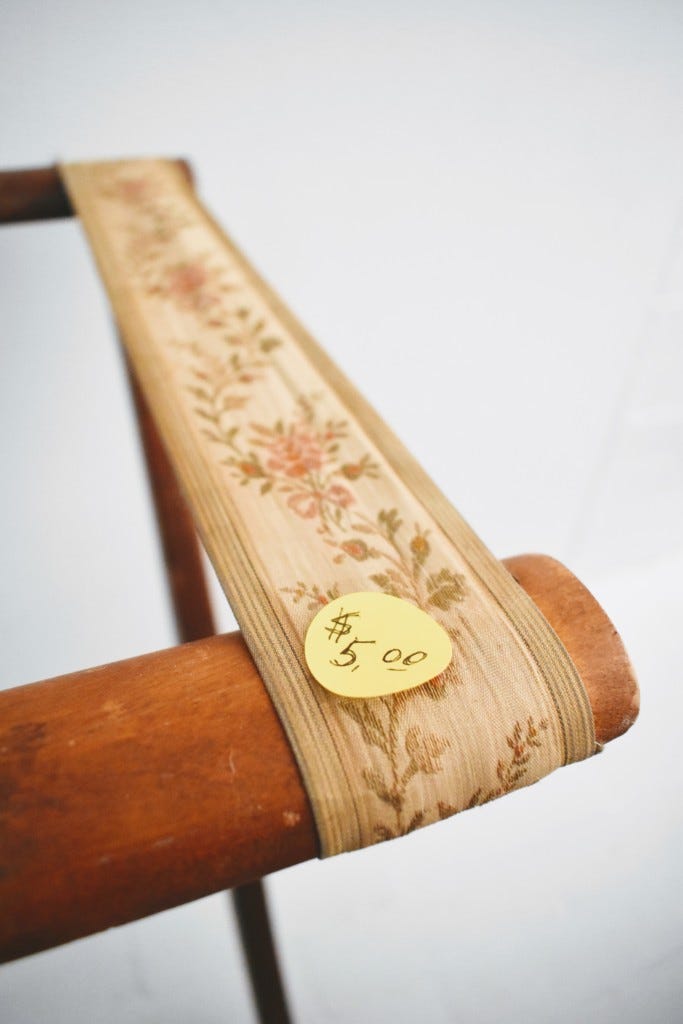
But I eventually poked my head into one garage filled with a quirky-looking collection of old stuff. There, I spotted a wood-framed luggage rack with some worn-out vintage ribbon. Immediately I saw the DIY potential. I was actually gearing up to haggle, but I looked at the sticker and saw that it was only $5!
Removing the ribbons
I've seen similar vintage pieces for around $60 on eBay, and new luggage racks run well into the $100-200 range, so I couldn't believe I'd found such a steal. I love collecting frugal finds for my budget-friendly crafts.
While it was still perfectly functional, it needed a fresh coat of paint and some new ribbons for the support straps. But it was nice to see that some rips in the original ribbon had been mended from the underside. I guess this luggage rack supported quite a few adventures in its heyday!
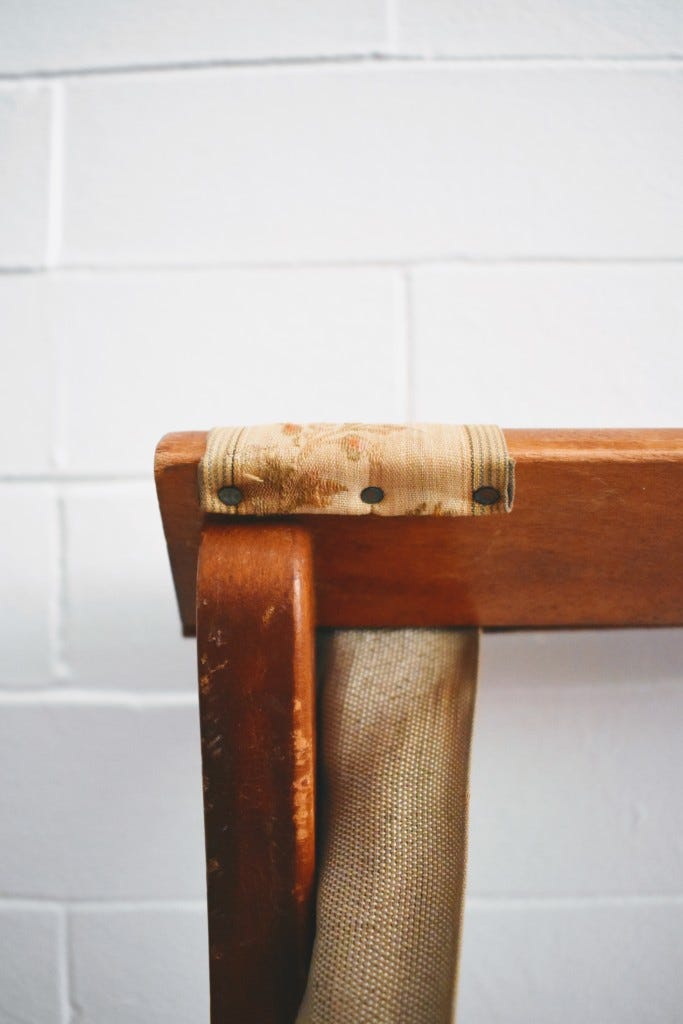
Before I got out the paints and brushes, I used the pliers from my Leatherman to pry out the nails that held the fabric straps in place. They seemed pretty ancient – nothing like modern-day nails!
My inner nerd wishes I knew more about how to use nails to date an object, but alas... (I mean, I could look into the history of this type of ribbon, given my background in fashion and textile history, but I think I just prefer not knowing its story!)
Choosing the chalk paint
I've used chalk paint in the past and decided that it would be perfect for this project. The reason is that you don't actually have to prep the surface at all; the paint can stick to a varnished surface without any problems. (I'm saving my fancy new orbital sander for future projects, so stay tuned!)
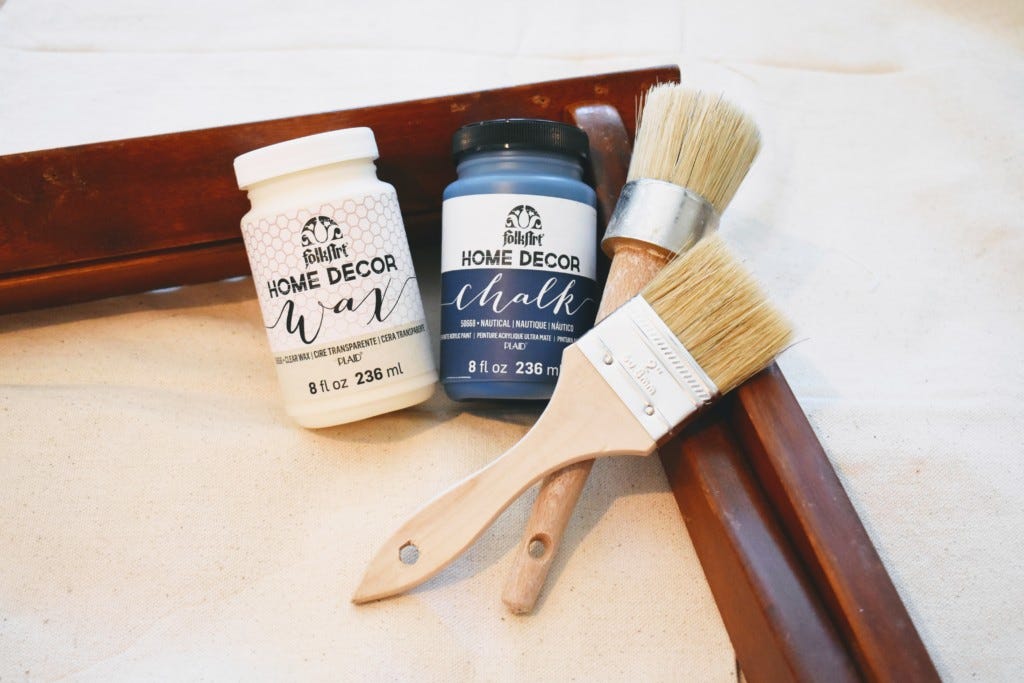
I painted a bookshelf using Annie Sloane chalk paint and then did up a desk with a homemade chalk paint mixture (paint + tile grout), but I saw some other options at Michael's. The FolkArt brand, which makes those little tubes of acrylic paint in a billion different colors, now has a series of home decor paints!
I picked up a small bottle of the chalk paint in "Nautical" blue along with a tub of clear wax. I rescued my round wax paintbrush from my parents' basement and grabbed a new chip brush for the paint, laid out my drop cloth, and got started!
Applying a fresh coat of paint (or 3)
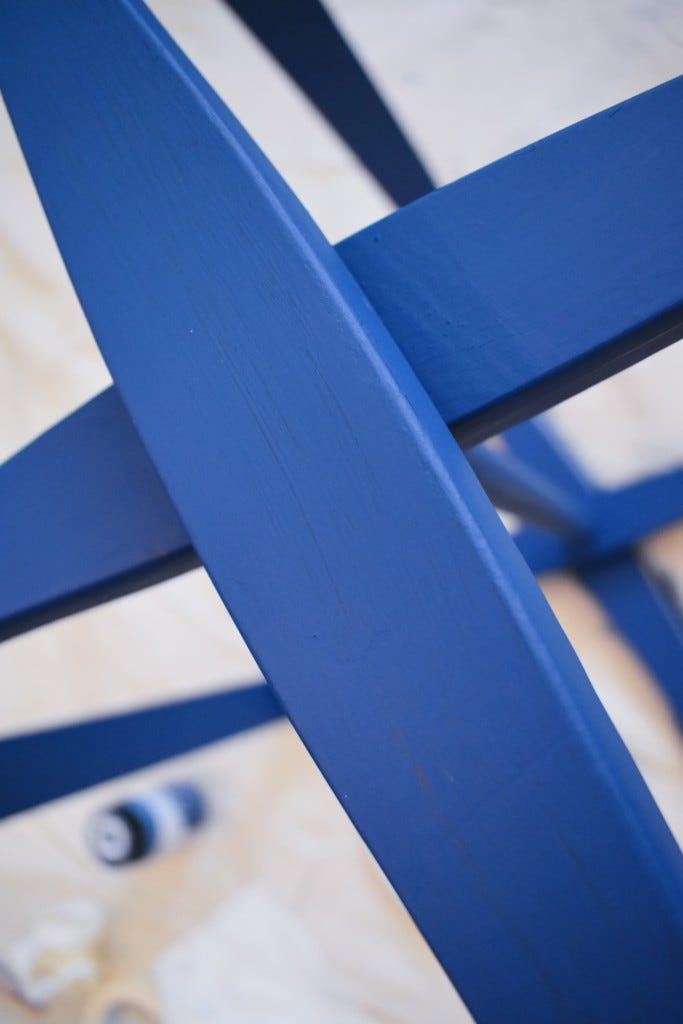
The first coat of paint went on smoothly. I was expecting a deep navy shade, but it came out in a shocking cobalt shade. It was also super glossy and wet-looking.
I was eager to try the FolkArt chalk paint because it's easier to buy (I don't know of any Annie Sloane stockists in my area) and much cheaper, especially with craft store coupons. My thought was that it could be a great choice for some of the furniture DIY projects I have lined up. But at first, I was a little worried that it wouldn't be anything like what I expected.
After it dried, though, the color was much more muted and it had that lovely, smooth matte texture that chalk paint is known for. Phew!
The first coat gave a lot of coverage, but there were still a few streaks of the wood showing through. Overall, I gave the piece about 3 coats of chalk paint.
Even though it's small, it was a pretty awkward-shaped piece to work on. It won't stand up on its legs without the fabric supports, so I kept having to flip it over on its side to reach each spot. You also have to wait at least 2 hours between each coat of paint, so I ended up spreading the painting across 2 days.
Also, I was surprised that this little luggage rack DIY used up nearly half of the bottle of paint! I'm sure I'd need a lot more for a bookshelf or chest of drawers.
For reference, the packaging says that each 8oz bottle covers about 20 square feet. In that case, I suppose 3 coats on a luggage rack equals about 10 square feet? Anyhow...
Coating the surface in clear wax
After the third coat of paint dried, I used my wax brush to apply the clear wax to the surface. Then, I used a rag to buff the blobs away.
The FolkArt wax was definitely different than the Annie Sloane wax I've used before. This one had a really runny consistency, which made it a little hard to work with. Only a thin coat is necessary, so I used a rag to wipe off the excess.
Unfortunately, the blue pigments from the paint mixed in with the liquid wax. It was a little scary at first since I thought the paint was coming off, but it only really stained my rag. I don't know if this is something that happens with other brands. As I've only used light shades like cream with Annie Sloane paints, I wasn't expecting a navy blue mess.
But it turned out alright in the end. I left the wax to cure overnight and buffed the surface a few days later to bring out the shine.
Attaching the new ribbons
While the original luggage rack had floral-printed ribbons, I wanted something fresh, cheerful, and modern. Keeping with the "nautical" theme of the paint color, I thought a bold stripe would be perfect.
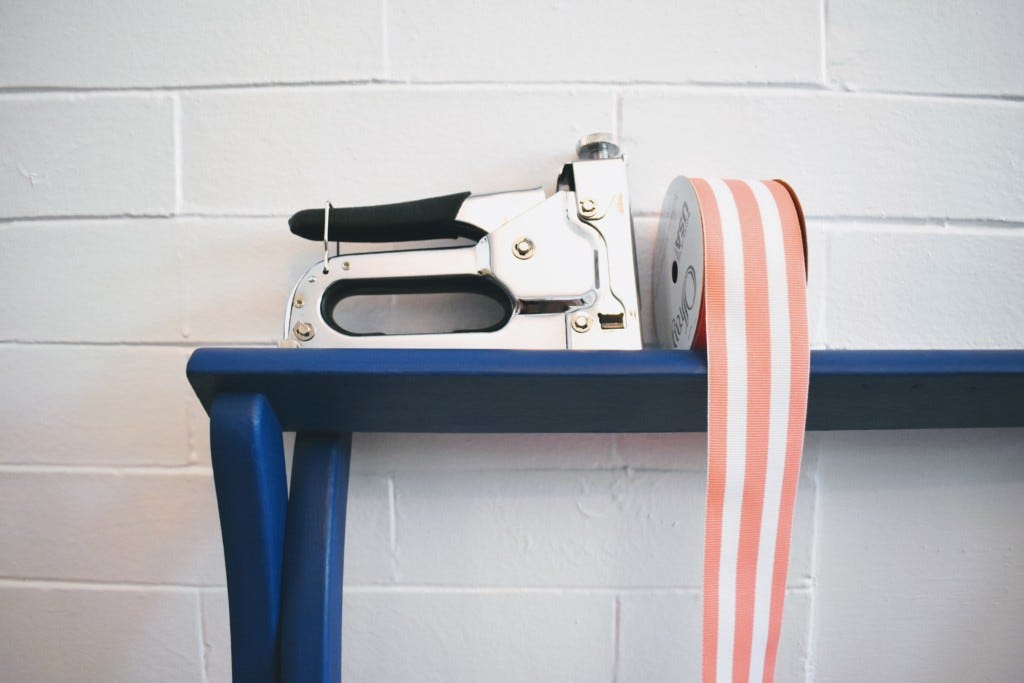
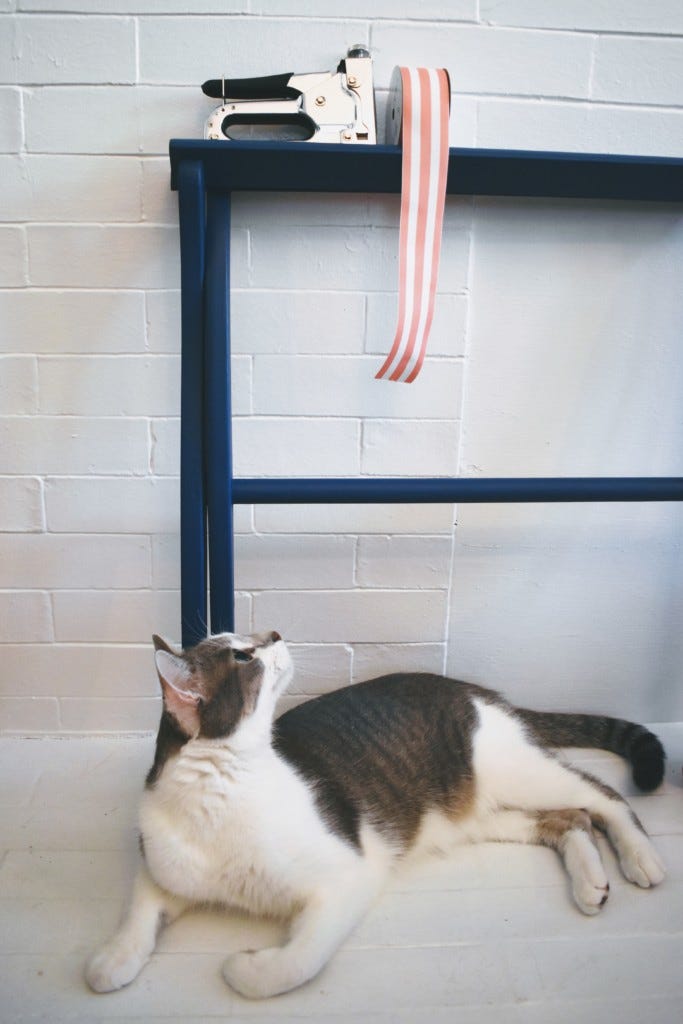
In the aisles of Joann's, I debated a variety of ribbons before choosing this 1½-inch-wide striped grosgrain. I loved the coral-pink color and the bright pop of white. To me, it just promises bright, sunny skies and wonderful adventures! (My cat Peter approved of the choice!)
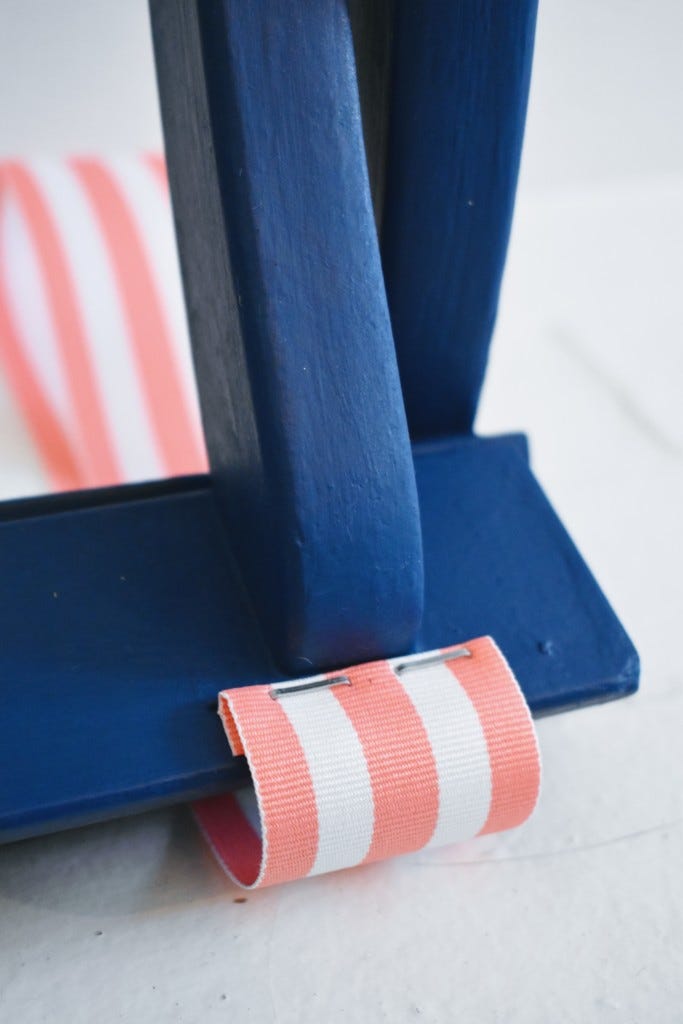
I also ordered a new staple gun on Amazon which can do 3 different types of staples. Since the original ribbons were held down with nails, I wanted to try the little T-shaped tacks. But the ribbon just ripped right out of that when my husband and I tested it. So we stuck with the standard staples instead.
To measure out the new lengths of ribbon, I actually used the originals as a reference. The nail holes were still visible, so it wasn't too hard to figure out the placement.
Then it just came down to making sure all three ribbons had the same tension. This was important so that the rack would stand perfectly straight when it was unfolded. But this was probably the quickest part of the whole process.
Luggage rack DIY: Before and after!
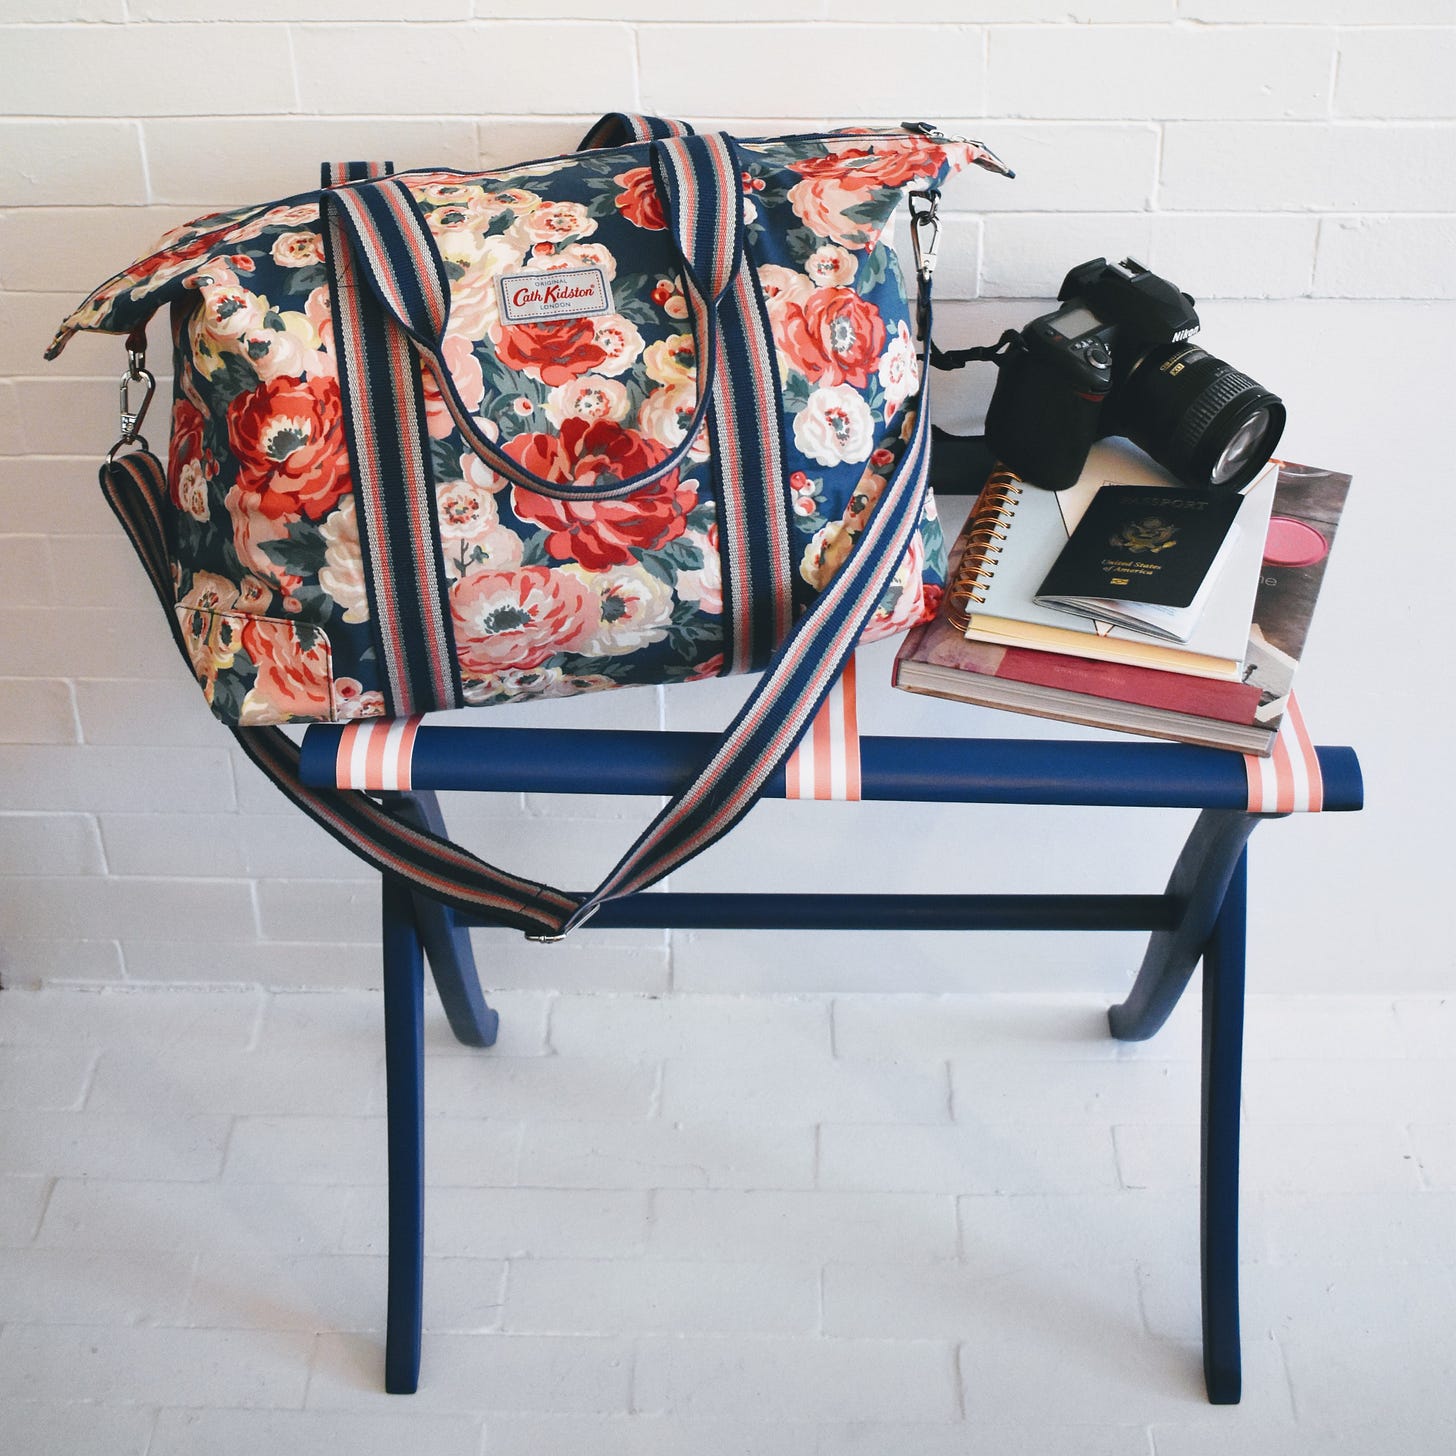
Overall, I'm really pleased with how this project turned out! I think the before-and-after pictures really show how much of a transformation this luggage rack DIY made.
It started as a drab, scuffed brown with faded granny-floral ribbons. Now, it's a deliciously deep navy in a modern matte finish with a bright pop of pink!
The whole luggage rack DIY makeover took a little more time than I expected. I think I underestimated how many coats I'd need to do or how much flipping and rotating would be involved.
Luckily, though, I managed to finish the entire before I had to start packing for a trip to the UK. My big red suitcase fits perfectly on top of the rack, but a smaller case would work just as well.
As I was packing, it was really nice not to have to hunch over while folding and fitting all of my clothes and shoes inside. And my cats weren't tempted to jump in and roll around like they usually are when they see an open suitcase on the floor!
Now, if only hotels had luggage racks this cute...


